Drone Photography for Real Estate
Aerial photography is one of the highest-value add-ons you can offer. From safe flying basics to lot lines and virtual twilights, here is everything you need to add drone to your packages.
If you are not already offering drone photography as an add-on, you are leaving a consistent revenue stream on the table. Aerial images are increasingly expected by agents for most residential listings — especially anything above entry-level price points — and properties with land, pools, or prominent neighbourhood features specifically benefit from the context and drama that aerial photography provides.
Why Drone Adds Value
Aerial images do something ground-level photography cannot: they show the property in its full context. The size of the lot, the relationship of the home to its neighbours, proximity to a park or water feature, the shape of the yard — all of this becomes immediately readable from above in a way that no ground-level composition can communicate.
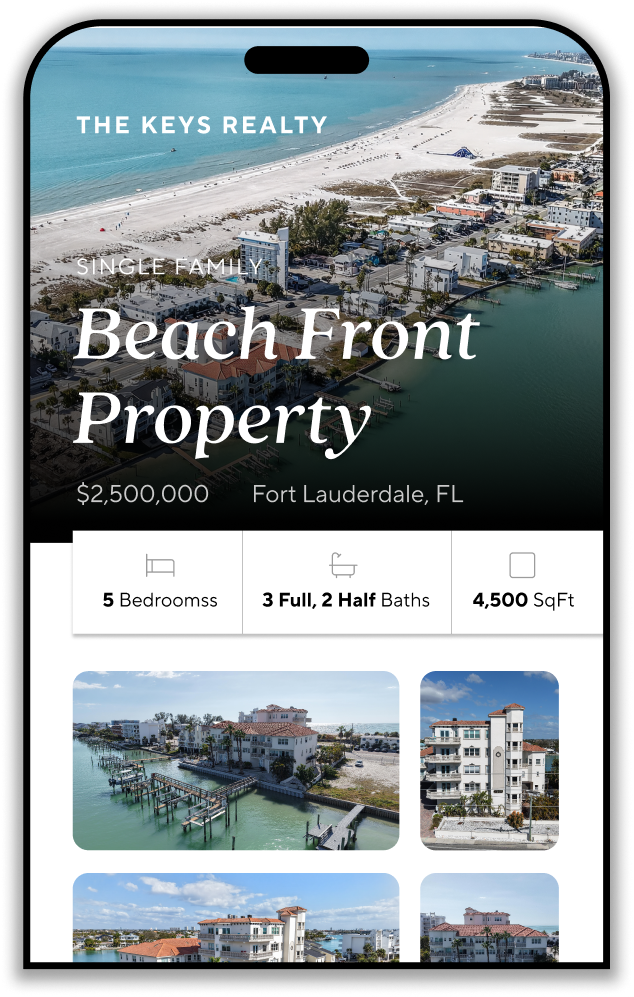
For agents, the most valuable drone image is usually the one that becomes the MLS thumbnail — a high aerial shot that stops buyers scrolling. A dramatic overhead view of a property with a well-replaced sky, sharp detail, and the surrounding neighbourhood visible creates an immediate sense of scale and desirability.
Pricing drone add-ons at $50–$150 per listing depending on scope is common in most markets. The time investment is typically fifteen to twenty minutes of flight, plus uploading and processing. The margin on drone add-ons is one of the best in the real estate photography business.
Safe Flying Basics
Before every flight, check whether the property is within a controlled airspace zone. Most major cities and areas near airports require special authorisation or are entirely off-limits for commercial drone operations. Apps like B4UFLY (in the US) and AirMap provide real-time airspace status by location and will tell you exactly what permissions you need before launching.
In many markets, commercial drone photography requires a Part 107 remote pilot certificate from the FAA (or the equivalent in your country). Shooting commercially without the appropriate certification exposes you to significant fines and potentially voids your liability insurance. If you are not yet certified, the Part 107 exam is manageable with a few weeks of study.
Once you have confirmed the airspace is clear, the typical residential property does not require flying high. Fifty to one hundred feet above the ground is usually sufficient to show the full property and surrounding area. Flying unnecessarily high increases the risk of airspace interference and reduces the detail visible in the property itself.
The Six Essential Shots
For a standard residential drone session, six to seven images cover everything an agent typically needs:
- Front 45° — tighter: The house from the front at a 45-degree angle, showing the facade and the front yard clearly
- Front 45° — wider: Same angle but higher and further back to include the neighbourhood context
- Front straight on: A level face-on view of the front elevation from above door height
- Rear 45°: The backyard, pool, or garden from above at an angle
- Rear straight on: The back of the house from directly behind, showing the yard fully
- Top-down overview: A directly overhead shot showing the full property footprint and lot boundaries
Anything beyond these six is a bonus. If the property has a particularly attractive feature — a large pool, a distinctive garden, an expansive view — capture additional angles that highlight it. Since Fotello prices per listing rather than per image, additional frames cost nothing to capture and process.
AEB Bracketing vs Single Shot
Most modern DJI drones support AEB (Auto Exposure Bracketing), which works the same way as camera bracketing — capturing multiple frames at different exposures in one sequence. Fotello processes bracketed drone images cleanly, so AEB is a valid option if you want maximum dynamic range from your aerial captures.
In practice, many real estate drone photographers shoot single exposures for most aerial work. The reason is de-ghosting: if there are any trees, flags, or moving objects in the frame, a multi-frame bracket increases the chance of ghosting where the frames do not align perfectly. A single well-exposed frame avoids this problem entirely.
The recommendation is to use auto mode or a manually dialled single exposure for most aerial work, and switch to AEB for specific shots where you know the dynamic range is going to be extreme — typically a backyard shot in bright sun where the foreground is in deep shadow from the house.
Shooting Drone Twilights
Shooting a real drone twilight — flying at dusk to capture the property as the sky transitions — requires extra care because the drone's shutter speed slows significantly in low light. At longer shutter speeds, any drone movement during the exposure produces motion blur in the sky and in the property, which degrades image quality. To manage this, switch to manual mode, raise the ISO to compensate for the lower light, and use a shutter speed fast enough to avoid motion blur.
For most drone twilight situations, a single exposure rather than AEB bracketing produces cleaner results. The longer shutter speeds required for bracketed drone twilight shots increase the risk that the drone drifts between frames, causing misalignment in the blend.
Alternatively, Fotello can generate a virtual twilight from any standard daytime aerial image — saving you a return visit to the property entirely. The virtual twilight feature works on drone images the same way it works on ground-level exteriors.
Editing Drone Photos in Fotello
Drone images upload and process identically to ground-level images in Fotello. Drag and drop your aerial files directly into the listing alongside your interior and ground exterior images. The AI automatically detects aerial shots and applies appropriate sky replacement and colour processing.
Once processed, you can access the full editing panel for each aerial image: adjust exposure and contrast, swap sky styles, enable the virtual twilight feature, or use the spot removal tool to clean up anything unwanted in the frame — a car on the street, a visible piece of equipment in the yard, or yourself and your car if they are visible in the shot.
Property Lines and Location Pins
Fotello includes two unique tools specifically for aerial images: property line drawing and location pin placement. Both are available directly on any drone image in your delivered gallery.
To draw property lines, select the drawing tool on an aerial image and click to place points along the boundary of the lot. When you close the shape, you can choose to highlight either the interior or exterior of the drawn boundary, and select a colour. A clean white outline showing the property footprint is a common request from agents who want buyers to understand exactly what land is included in the listing.
Location pins let you drop labelled markers on the aerial image — a school icon with a distance label, a pin marking a community park, or a marker showing the nearest amenity. These are particularly useful for properties in planned communities or areas where proximity to services is a selling point. Clients can place their own pins after delivery through the Fotello portal, reducing the back-and-forth requests you receive after delivery.


1 in 4 homes worldwide are marketed with Fotello
Grow your real estate photography business with Fotello
Join thousands of real estate creators delivering their best work and building their biggest year yet
No credit card needed ✦ Free plan with no limits